Can You Patch A Tire After Using Fix-A-Flat? Find Out Here

can you patch a tire after using Fix-A-Flat

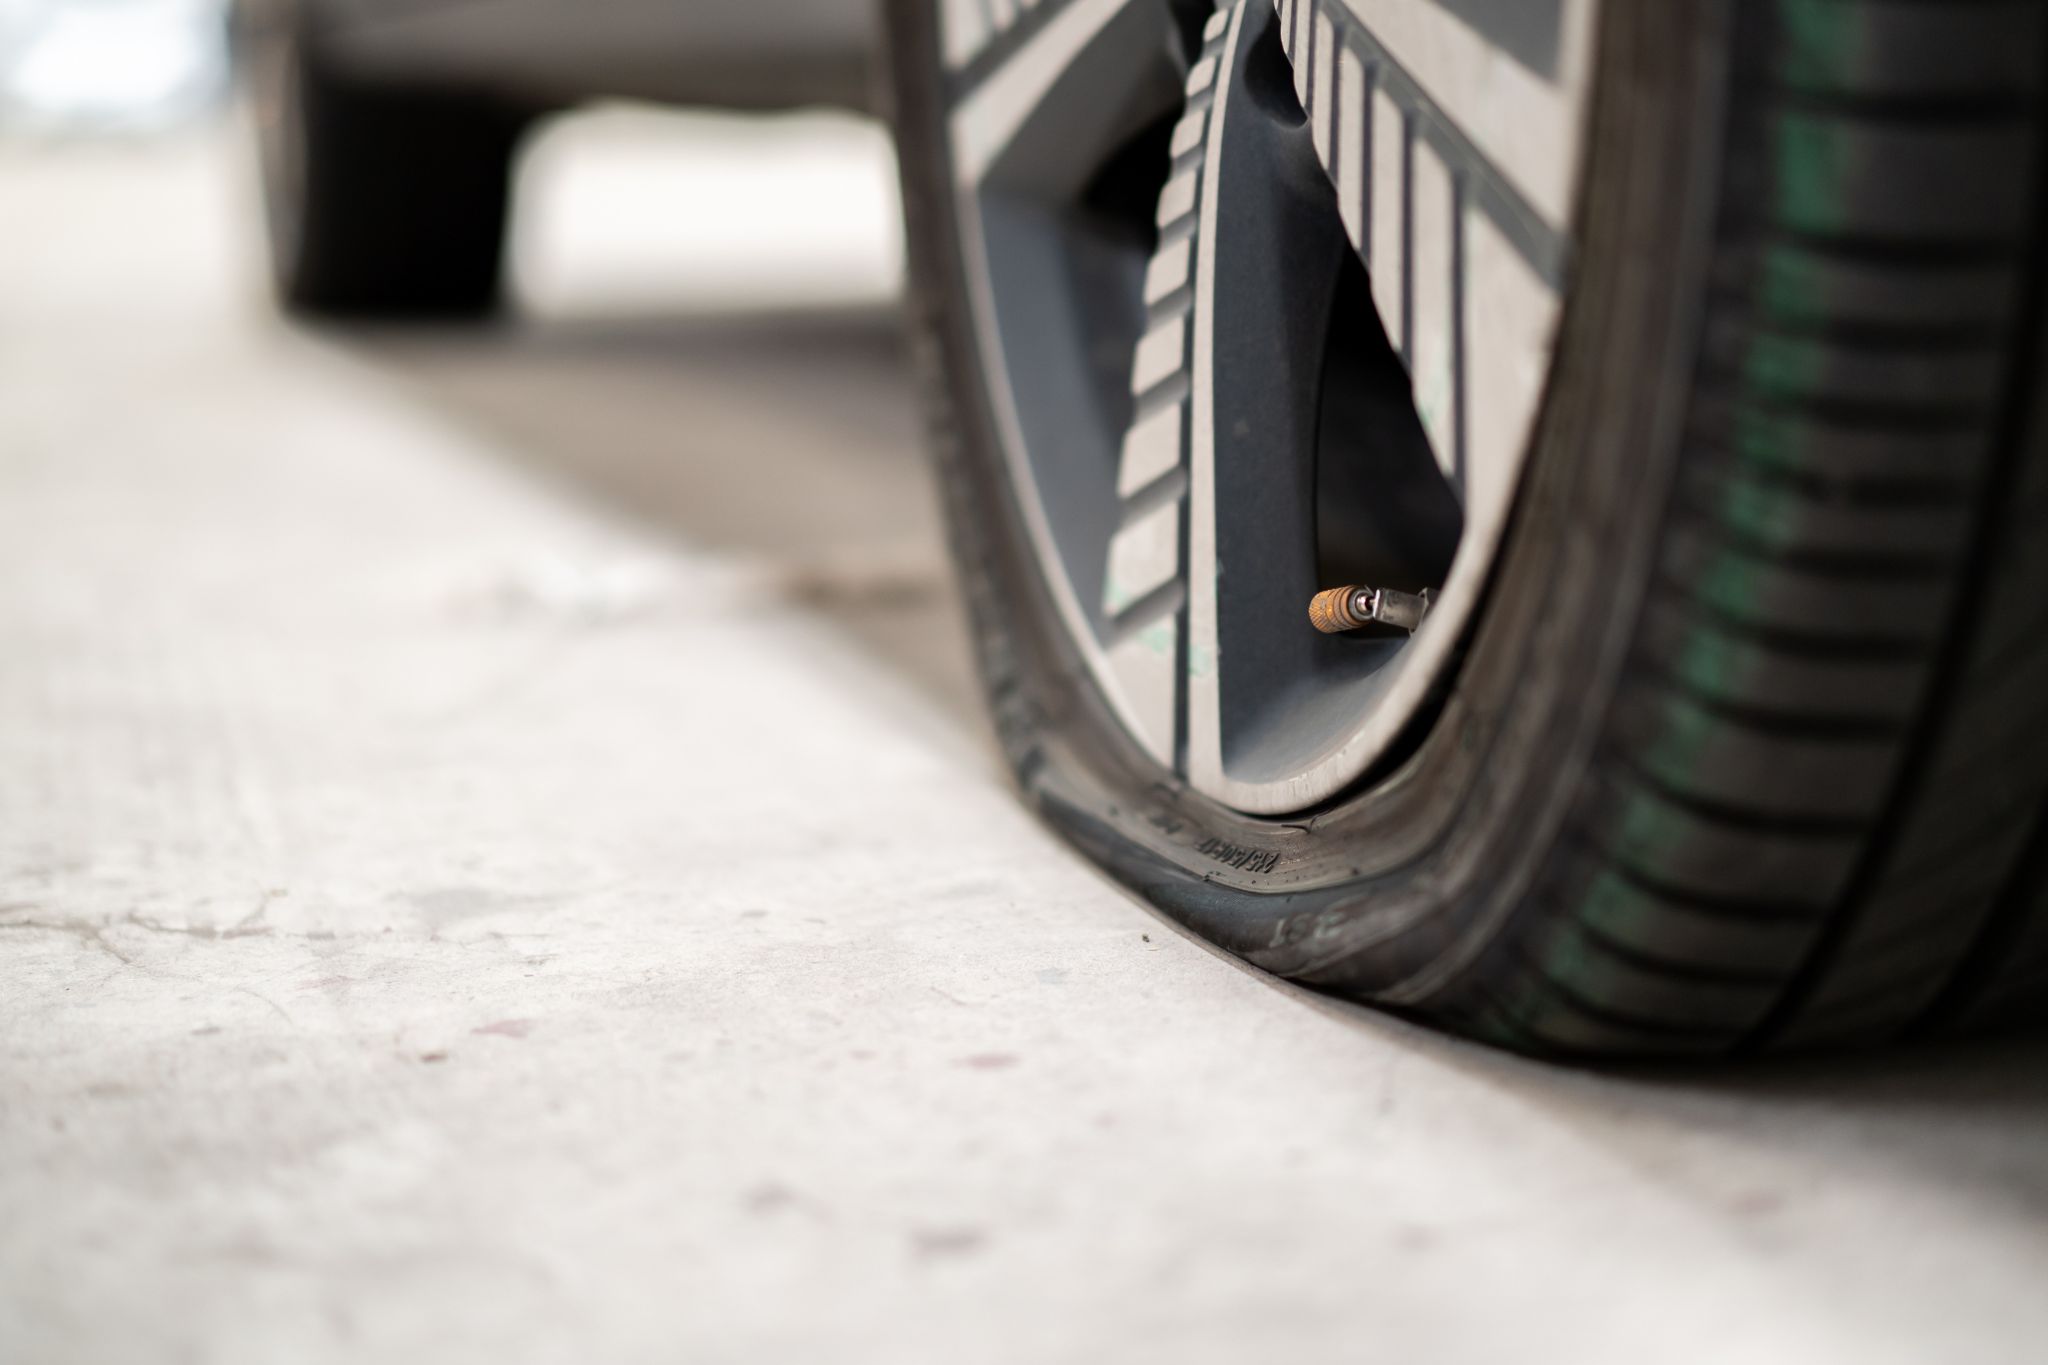
There are different objects on the road that could puncture the tire. You are at a higher risk of puncture when you are driving on rough road surfaces. To avoid being stranded, you can quickly resolve the problem when you use fix-a-flat. Though this will resolve the problem and you can continue your journey but many people are skeptical about whether that is a permanent solution. Therefore, they ask if they can patch the tire after using fix-a-flat. Can you patch a tire after using fix-a-flat? The answer to this question is very simple. Yes, you can still patch the tire after using fix-a-flat. This is because the fix-a-flat is only a temporary solution to the problem. Once you get to your destination, you should seek a permanent solution by patching the affected portion of the tire. Keep reading this article for more information. TRENDING SEARCHES Do I need a fix-a-flat? A spare tire and a tire that is in good condition give some car owners confidence and they think, at times, that they will not be stranded on the road, even if they have a flat tire. They believe they can replace the punctured tire with the spare and continue their trip. What then happens in a situation where the spare tire also gets punctured? They will become stranded. To avoid being in such a situation, you can use fix-a-flat. Here are some of the reasons why you need fix-a-flat. To avoid emergency You will be stranded in a situation where your spare tire also gets punctured. Even the spare is unfit due to lack of usage for a longer duration. The truth is that situations like this could happen when there is an emergency. You can easily fix the punctured tire with fix-a-flat, then continue your journey. Moreover, it will also save you from being stranded by the roadside.   Sustain flat tire You could be at risk if you have a flat tire by the roadside, especially if it happens in areas where there is a security threat. In a situation like this, you could lose your valuables while trying to resolve the issue by the roadside. Fix-a-flat can prevent being in such a compromising situation and you will get to a safe location or the next tire shop. Some drawbacks of the fix-a-flat Despite the tangible argument that many users of fix-a-flat have about its usage, it also has its critics. The following are some of the reasons why many people do not prefer the use of fix-a-flat. Temporary solution Though fix-a-flat will resolve any issue that you have with a flat tire and prevent you from being stranded, it is still a temporary solution. You still need to fix the puncture when you get to your destination or you wear out the tire quickly. Uneven wear Did you know that the fix-a-flat can cause some parts of the tire to become heavier? This implies that the tires will experience uneven weight distribution. When the tire is in this condition for a longer duration, it will experience uneven wear. The next thing you will start thinking about is how to replace the tire. Damage Though the fix-a-flat is in liquid form, it will get hardened when you use it to fix a punctured tire. It could get stuck to the rim in the process. Getting rid of it from the rims could become a hassle. Apart from damaging the rim, it could also damage the pressure monitoring system. This could happen when the fix-a-flat blocks the hole that the TPMS needs to measure the system. Getting rid of it from the hole is a difficult task. Corrosive Did you know that your car paint could be affected when you use fix-a-flat? When the liquid mixes with aluminum or rubber, it could become corrosive. This implies that the fender and the paint of your cars are at risk when you use fix-a-flat. How do I use fix-a-flat? using fix-a-flat could be a bit technical, especially when you are using it for the first time. Once you have it handy in your vehicle, you are free to use it in an emergency. Here are some steps you can follow when you want to use fix-a-flat. Park the vehicle Once you notice that the tire is punctured, the first thing that should come to your mind is to carefully and slowly pull over and park the car in a safe place. Locate the puncture Get down from your car and locate the affected tire. Once you have carefully parked your car, you should inspect the tire to locate it. You should thoroughly inspect it to be sure the puncture is not more than one. Afterward, you should remove the cap from the valve stem and keep it in a safe location. Use fix-a-flat Once you have successfully removed the cap from the valve stem, you can then, carefully attach the can of fix-a-flat to the valve. Hold onto the can in an upright manner until the flat tire is filled. Once you are through with this, you should unscrew the can. Afterward, you should carefully return the valve cap. You can continue your journey If you have completed the steps highlighted above, you can then continue your journey. It is recommended that you start driving immediately. However, you should drive slowly. This will help the sealant to circulate and block all the holes. Maintenance tips for tires Tires are arguably the most abused part of the vehicle. You need to regularly care for them so that they can be in good condition and last for a longer duration. The following are some of the ways you can care for your tire.  Inspect the tire often The tire is exposed to wear often so far you cruise it on different road surfaces. You can avoid sudden issues with the tire when you inspect it often. If you suspect an issue with the tire, you should replace or repair it quickly. … Read more

5 Hidden Mini Cooper Tire Wear Problems & Possible Solutions

5 hidden mini cooper tire wear problems and possible solution

Does size matter when it comes to durability? Relatively it doesn’t but many people think that the Mini Cooper tire should not have any problem while they use it for a longer duration. The truth is the Mini Cooper tire can wear just like other tires. The way you care for it will determine how soon it will get worn. What are the reasons for Mini Cooper tire wear? Check out this article for answers to this question. Mini Cooper tire wear problems Being durable doesn’t mean that the Mini Cooper tire will not wear. It then becomes a problem when it wears quicker than you thought. The following are some of the reasons why you could experience wear problems with your Mini Cooper tire. TRENDING SEARCHES 1. Improper mounting The manner of mounting the Mini Cooper tire is very important. For instance, there are some specifications that you must follow when you want to mount new tires and what you should do after successful mounting. If you have failed to do the right thing while mounting the Mini Cooper tire, there is a high chance that the tire will wear quickly. 2. Balancing One of the things you should ensure after the successful mounting of the Mini Cooper tire is to do the balancing. This will ensure that the weight of the vehicle is evenly distributed on all the tires. While many people think this isn’t necessary and they hit the road after mounting the Mini Cooper tire, they are indirectly subjecting the tire to quick wear. Also, to keep the tire in good condition, you should check the balancing of the vehicle at least once in 6 months or after 5,000 mileage. Failure to do this will easily wear out the Mini Cooper tire. 3. Maintenance Wear problems with the Mini Cooper tire are arguably caused by ownership and the way you maintain the tires. For instance, periodic checking of the tire will suggest quickly if there is any problem with the tire. Additionally, regular washing does more than making the tires maintain their shining look. The way you drive the vehicle also matters in determining how soon the tires will wear. In a situation where you run over speed bumps and potholes recklessly, the tires would likely get worn quicker than you imagine. Moreover, loading the car with cargo beyond the capacity of the tire is a quick way to get the tires worn. 4. Negligence You will likely start experiencing problems with the Mini Cooper tire when you cruise on different road surfaces. How you manage the problem is an important factor that determines how soon the tire will wear. For instance, if you feel the tire is vibrating, you should go to a wheel expert to fix the problem immediately. You are subjecting the tire to quick wear when you allow the problem to linger for a longer duration. In most situations, the unmanaged problems of the Mini Cooper tire could lead to uneven wear of the tire. 5. Quality The quality of a product will potentially determine its durability. The quality of the Mini Cooper tire that you mount on your vehicle will determine how soon the tire will wear. This is why you should go to an accredited Copper dealer when you want to buy the tire. How can I avoid the Mini Cooper tire wear problems? Avoiding the wear problems is easier, cheaper, and better than fixing them. Though it might be stressful and costly when you want to do the right thing, the truth, however, is that it will give you peace of mind in the long run. Below are some of the things you can do to avoid having issues with the Mini Cooper tire. Don’t compromise with quality The first thing you should ensure if indeed you want to use the Mini Cooper tire for a longer duration is to ensure that you are buying a quality tire, irrespective of the price. To do this, it is recommended that you buy the tire from a certified dealer. Not only that, you should buy the one with a warranty. A good manufacturer stands with their product by offering the customer a warranty. Know the specification While preference is a good thing, you should also know the wheel specification of your car. If you are fortunate, you might get your preferred tire that will still meet the specification of your car. You can check the manual for more information on the wheel specifications or you trust a wheel expert for professional guidance. Get it right Mounting the tire on your vehicle might be an easy deal but have you taken the time to ask yourself if you have done the right thing? The truth is that your job doesn’t stop at mounting. You should go to a wheel expert for proper inspection of the wheel. The expert will check the balancing, alignment, bearing, and other issues that could reduce the lifespan of the tire. It is recommended that you follow the expert’s guidance. Care for the tire Caring for the Mini Cooper tire can go a long way to prolonging its lifespan of the tire. Caring for the tire is beyond washing the tire alone. Though doing that is good, there are other things that you must do. Some caring tips for the Mini Cooper tire will be discussed in the latter part of this article. Seek help You should not hesitate to seek the help of a professional anytime you have issues with the Mini Cooper tire. If you notice that the tire is vibrating, wobbling, or not functioning optimally, you should go to a wheel expert. In a situation where a wheel expert is unable to resolve the crisis, you can try out another wheel expert. Some caring tips for the Mini Cooper tire Wear and other likely issues that you will have with the Mini Cooper tire are a result of the way you care for the … Read more

How To Keep Tire Shine From Slinging?

How To Keep Tire Shine From Slinging

Tire sling is a phenomenon that occurs when tire shine dressing applied on tires gets flung to the wheels, side, and even fenders of the vehicle due to the tire spinning during movement. Many persons have attributed tire sling to the product itself when in reality the reason has always been the application. Regardless of the product being purchased, if you don’t apply a tire shine in the best way possible, you will always experience the tire sling effect. Below is a step-by-step guide on how to avoid tire sling on your vehicle tires. Trending Searches Can A Toyota Tundra Pull A Fifth Wheel Camper? Can You Jack Up A Car By The Transmission? Can You Jack Up A Car By The Engine? How to apply tire shine? Step 1 Ensure your tire is clean and properly dried The mistake some people make is applying tire shine immediately after washing their tires without allowing them to dry properly. A tire would have to be properly dried before tire shine can do its job, therefore, use a towel to dry your tire before allowing it to air-dry for a little while. If you miss this important step, you may as well just forget about applying a tire shine altogether because it would be of no use. Now you see why it’s not the product’s fault right? Step 2 Apply water-based dressing over silicon-based dressing There are basically two types of components used in making tires shine – water and silicon. They both have their pros and cons but for the sake of slinging, it is highly recommended you use water-based dressing, the reason is simple; water-based dressing will easily absorb into your tires thereby leaving you with an excellent finish that feels dry to the touch. Silicon dressing on the other hand doesn’t guarantee this type of finish as it is likely to form a film on the surface of your tire, thereby making it prone to slinging. This can be minimized though if you apply the silicon product moderately and follow the next steps I will explain below. Step 3 Use thin coats on the surfaces Another essential key to avoiding slinging is using as little at a time. In all honesty, using lots of products might give you a sparkling wet look at first, but all that comes to naught when you start driving. The advantage of applying very little product at a time is that it allows it dry on time. When applying your tire shine (be it water or silicone-based), use a shine tire applicator sponge. Then gently work the product into your tire by rubbing it round to ensure your tire shine is evenly spread out. Do not allow any form of a pool of the product on your tire, especially around the crack areas and grooves. The product has to be evenly distributed on the surface. Step 4 Give ample time for drying After applying your tire shine product, do well to allow it to dry completely before driving your car – let’s say for about 40-minutes. To make it faster, you can use a microfiber towel to clean around the surface of your tire after application – ensure you don’t use force, and apply lightly. Using a microfiber towel will ensure you don’t have an excess product on the tire that can result in slinging. To be very sure your tire dressing is completely dried, you can use your finger and swipe across the surface. If it leaves no residue stains, then you can go ahead and drive. You definitely wouldn’t have any tire sling after following these easy steps. How to clean your tire to avoid slinging? Remember I said cleaning your tire properly is the foundation required to avoid slinging, well, below are the steps to help you build a solid foundation. Step 1 Use washing soaps made specifically for tires There are various soaps out there you can use to clean your car, but never do the mistake of using the same soap used in cleaning the body of your car to clean the tire of your car or vehicle. This is because car cleaning soaps are designed to handle stains on the paint of the car as well as clear the coat, and using such soaps on your tire could leave a film on your car tire which could result in slinging when you finally apply tire dressers.  The same thing applies to tire cleaners as well. Tire cleaners have a very poor effect on your car paint and should be avoided at all costs. However, note that there are cleaners designed for both the body and tires of cars, and only when such cleaners are available should go ahead and apply them on both surface areas. Step 2 Allow your tire cleaner to soak in for a couple of minutes Patience is the keyword here – don’t be in haste. Ensure you allow your tire cleaner to sit on the surface of the tire after application for a couple of minutes – let’s say three – or follow the timing instruction stated on the cleaner. This is because the rubber used in making tires is not too porous which can make it very difficult to remove dust from tires, but allowing the tire cleaner to sit for a while will do the trick.  There are bound to be overspray when applying your tire cleaner, and when they occur, get a rag and clean such areas immediately.  Step 3 Use a tire brush to scrub the tires One thing that’s guaranteed you’ll do when cleaning your tire would be the use of force. Ensure you get the proper brush for cleaning tires which can be large enough brushes with stiff bristles and apply the right pressure needed to get a proper clean as tire dirt can be quite stubborn. The scrubbing pattern shouldn’t really be much of a concern to you – be it circular or back and forth … Read more

5 Hidden Michelin LTX AT2 Problems & Possible Solutions  

5 hidden michelin LTX AT2 problems and possible solutions

Michelin is a brand name that has gained popularity over the years for quality products. Did you know that the company has various models of automobile tires that are designed for different purposes? A newer model could be an improvement on the older model. One such popular model that you can easily get in the market is the Michelin LTX AT2. Due to its popularity, many prospective buyers and existing users are always concerned about the likely problems of Michelin LTX AT2 automobile tires. Keep reading for more information about the problems and how they can be resolved. TRENDING SEARCHES 4 Hidden Michelin XPS Rib Tire Problems & Possible Solutions 5 Hidden Michelin Defender Vibration Problems & Possible Solutions 7 Hidden Cooper Tire Balance Problems & Possible Solutions Michelin LTX AT2 Problems?   Despite its numerous accolades and positive reviews, you may experience some problems with the automobile tire. Knowledge about some of these problems could guide your choice when you want to buy automobile tires and also help in avoiding the problems when you start using the automobile tire. The following are some of the likely problems of the Michelin LTX AT2 automobile tire. 1. Easy wear Nobody is interested in buying a product that would not last long. Though the Michelin LTX AT2 automobile tires are produced by a popular brand that is known for their quality, many users have, however, stated that the automobile tires wear easily, especially on the edges. While this is surprising to many people, some believe that it is a production defect from the manufacturer. Apart from that, others believe that it could be caused by a lack of proper care for automobile tires. 2. Wobbling It is always disturbing when you cannot control the vehicle the way you ought to. One of the problems you could have with the Michelin LTX AT2 is that the automobile tires could wobble, especially when you are at a higher speed. In such a situation, you have to be careful so that you will not lose control of the vehicle. 3. Blowout This is the fear of many drivers when they are on the road and they begin to experience issues with the automobile tires. Just like other Michelin products, the Michelin LTX AT2 automobile tires have a 6 years warranty but do you know that many users have complained that they experienced blowouts with the automobile tires. Though automobile tire blowouts could be caused by different factors, most of the complainants stated that they have fulfilled other conditions such as the pressure level. The worry here is that why are there many blowout complaints against Michelin LTX AT2? 4. Noise One of the things that many drivers hate when they are on the road is hearing disturbing noise from any part of the vehicle. The truth, however, is that Michelin LTX AT2 could make noise when the car is in motion. Though the noise should be insignificant, it will become disturbing at a higher speed when there is an issue with the balancing of the car, alignment, or bearing. 5. Crack between the tread The tread is an important part of the automobile tire that should not be compromised. When you use Michelin LTX AT2, you have to inspect the tread often. This is because there is a high chance that the thread will crack quickly. In most instances, the crack usually occurs between the tread of the Michelin LTX AT2 automobile tires. This problem is caused by the nature of the road you cruise the automobile tire and the way you maintain the automobile tires. What can I do to resolve any problem with Michelin LTX AT2? The knowledge about the likely problems of the Michelin LTX AT2 automobile tires is not enough if you do not know how you can fix them, especially for current users of the automobile tire. Below are some of the things you can do to resolve the problem. Ensure you do the right thing Most of the issues highlighted above arise as a result of technical issues or lack of care. Recall that there are other users of the automobile tire that say positive things about it. For instance, you must ensure the proper balancing of the car, and check the alignment, bearing, and pressure in the automobile tire often. Aside from doing these, you should also be careful when you are driving to avoid putting sudden pressure on the automobile tires. Have spare automobile tires To avoid being stranded on the road in a situation where there is a blowout, it is recommended that you have a spare automobile tire that is in good condition. This will allow you the opportunity to continue the journey. You can then fix the problem when you get to your destination. Go to an expert The automobile tire is one of the most sensitive parts of the car that you should care for rightly. If you notice any of the problems that have been discussed earlier in this article, you should seek the service of an automobile tire expert. The expert would help with problems such as balancing, alignment, and bearing. Call Michelin If you still have a valid warranty, your first point of call when you have issues with the automobile tire is to contact the manufacturer directly. In most instances, you will be directed to their closest agent to you. Maintenance tips for Michelin LTX AT2 With available reviews online, the reputation of the manufacturer, and the duration of the warranty, it is safe to say that the Michelin LTX AT2 is a durable product. It is, however, likely that the automobile tires get ruined if you do not care for them. The following are some of the things you can do to care for Michelin LTX AT2 automobile tires. Regular inspection The automobile tire is arguably the most used part of the car. This is because the part is the most abused by exposure to different road surfaces. … Read more

Can Bottle Jack Be Used On Its Side?

Can Bottle Jack Be Used On Its Side

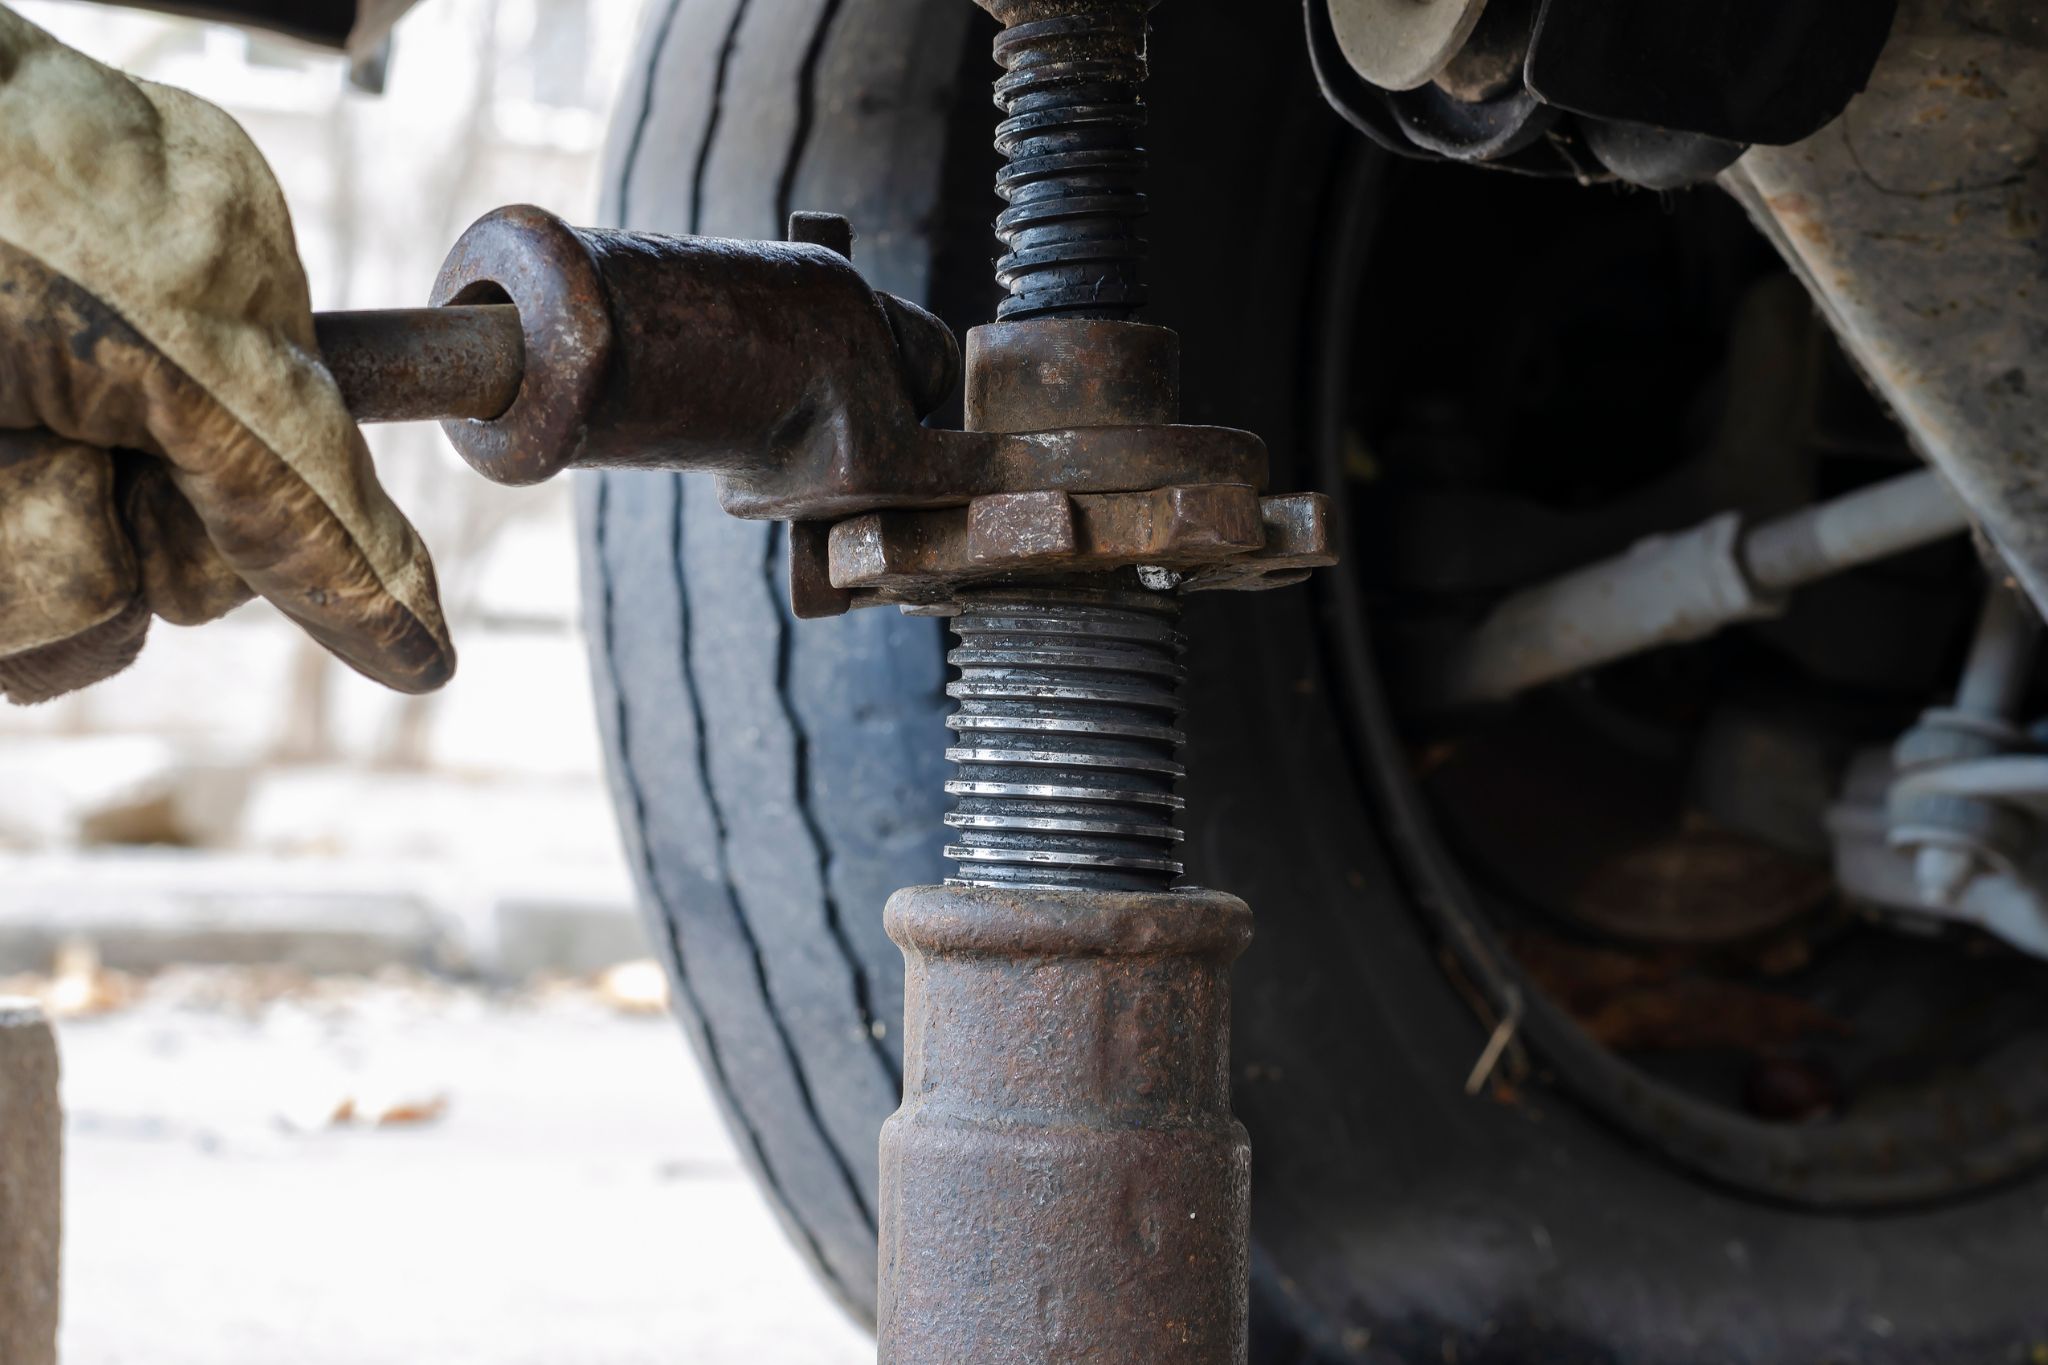
As a driver, you know you have a nightmare to wake up from when you discover you don’t have a bottle jack a bottle jack is as important to a driver as water is important to someone on a camping trip. However, the importance of a bottle jack is not in question here; many drivers have always asked the question, can a bottle jack be used on its side? Yes, a bottle jack can be used on its side. Most, if not all hydraulic jacks come with a port usually located at the bottom of the reservoir leading to the pump. However, when the jack is laid to the side of the jack containing the intake for the pump, it will work for a while until the hole is exposed to the atmosphere. In most cases, that port, in particular, is placed on the same side as the pump because it reduces the amount of work needed. So, depending on the design of the bottle jack and the amount of oil in the reservoir, you shouldn’t have a problem using a bottle jack on its side. Trending Searches How to use a bottle jack The following steps listed below will show you how to use a bottle jack. Materials needed Step 1 Park your vehicle safely Parking your vehicle safely involves two things; parking on the right side of the road and parking on a level surface. While using your garage will always be the best option, the last place a flat can occur would be a garage, and since they are likely to happen in the course of driving try moving away from incoming traffic to the shoulder of the road. Once you are safely away from traffic, try parking on a level spot and ensure the surface is hard. If the surface happens to be muddy, your planks would come in handy to provide a solid base for your bottle jack, and if the road isn’t as level as it should be, you might want to apply your parking brake and use the tire wedge to prevent your car from rolling backward or forward depending on the topography of the landscape. Step 2 Get a jack stand and inspect your jack before usage Depending on what you want to do under the vehicle, you may need to use jack stands if you’ll be staying under the vehicle for a prolonged time. Jack stands are a lot safer than bottle jacks as they provide you with the assurance that your car wouldn’t come toppling on you while working. In the case of a flat, a single jack would suffice. Inspect your bottle jack for any sort of leakage involving hydraulic oil as they could reduce the performance of your bottle jack. Also, ensure the plug behind is tightly fixed and the release valve is properly closed. Clean off any form of dirt on the saddle as it might hamper a clear contact with your vehicle. Lastly, check your jack stands for any sort of defect since any slight defect could put the integrity of the jack stand in check. Step 3 Locate the lift point on your vehicle To be sure of where your jack should be placed, ensure you read the user manual of your vehicle as such points can differ according to the vehicle manufacturer. Using any other points can cause a crack, injury, or even damage to your vehicle. Run a few test pumps on the bottle jack to be sure of its working condition; slowly pump up the handle upwards and downwards. You can also let down the cylinder by carefully turning the release valve in an anticlockwise direction to ensure it’s in good working condition. You can also use the handle located at one end of the bottle jack to release the valve which is located near the barrel bottom usually on the front of the jack. Ensure you tighten the release valve before use. Step 4 Lift your vehicle After locating the lift point on your vehicle, ensure your workspace is clear enough to work safely, and if you’re working at home don’t allow children to come around. If the area is swampy or muddy or has soft earth, get your planks to manage the situation by placing them underneath your bottle jack and your jack stand. Place your bottle jack underneath the designated point for lifting on the vehicle, insert the handle of your bottle jack and start pumping until the saddle of your bottle jack is close to touching your vehicle – don’t forget to ensure the saddle is directly in line with the vehicle lifting point. Pump your bottle jack until your vehicle is high enough from the ground to safely work under. Most bottle jack jacks will come with safety measures to prevent over-extension, however, it is never advised to lift your vehicle higher than required. Step 5 Position your jack stands and remove your bottle jack After achieving the desired height, place your jack stands and ensure they are properly supported if the ground is soft. Once placed, remove the handle from your jack, and with the use of your notch located at the end of your bottle jack, twist the release valve gently in the anticlockwise direction the same way you did while test running your bottle jack.  Gently release the jack until your vehicle rests comfortably on your jack stand(s). Before removing the jacks completely, double-check the location of your jack stand(s) and ensure they are properly placed before allowing your vehicle to rest on them. Once your vehicle is properly resting on the jack stand(s) you can go ahead and carry out your repair or maintenance activity under your vehicle.  Step 6 Bringing down your vehicle After completing your repair and maintenance on your vehicle, place your bottle jack directly facing the required points used in jacking your vehicle up while ensuring you follow the safety measures depending on the state of the ground, … Read more