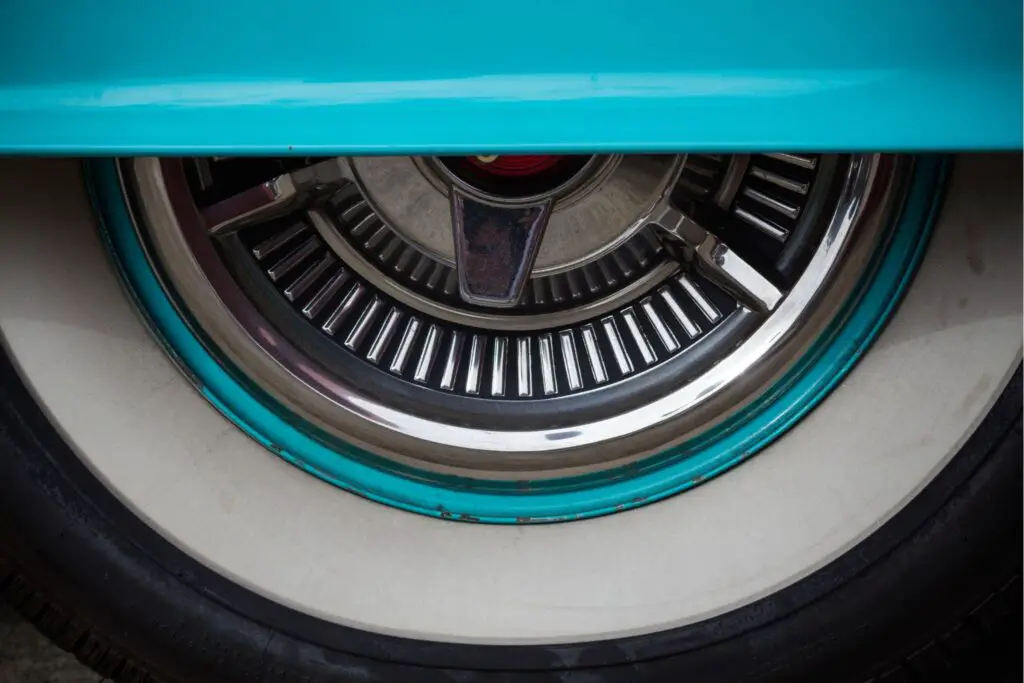
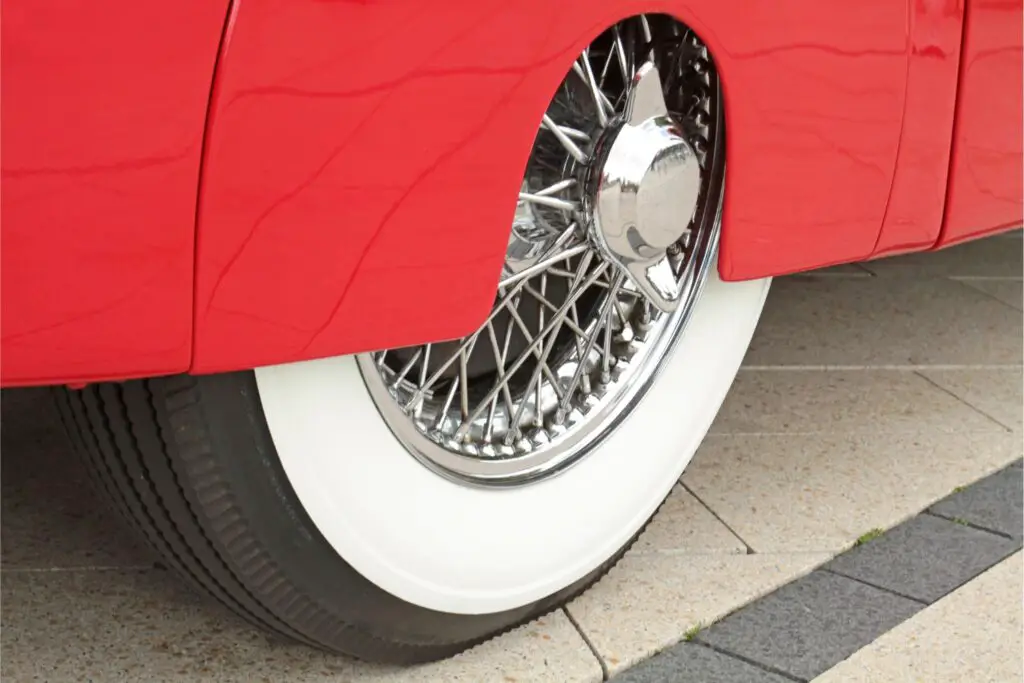
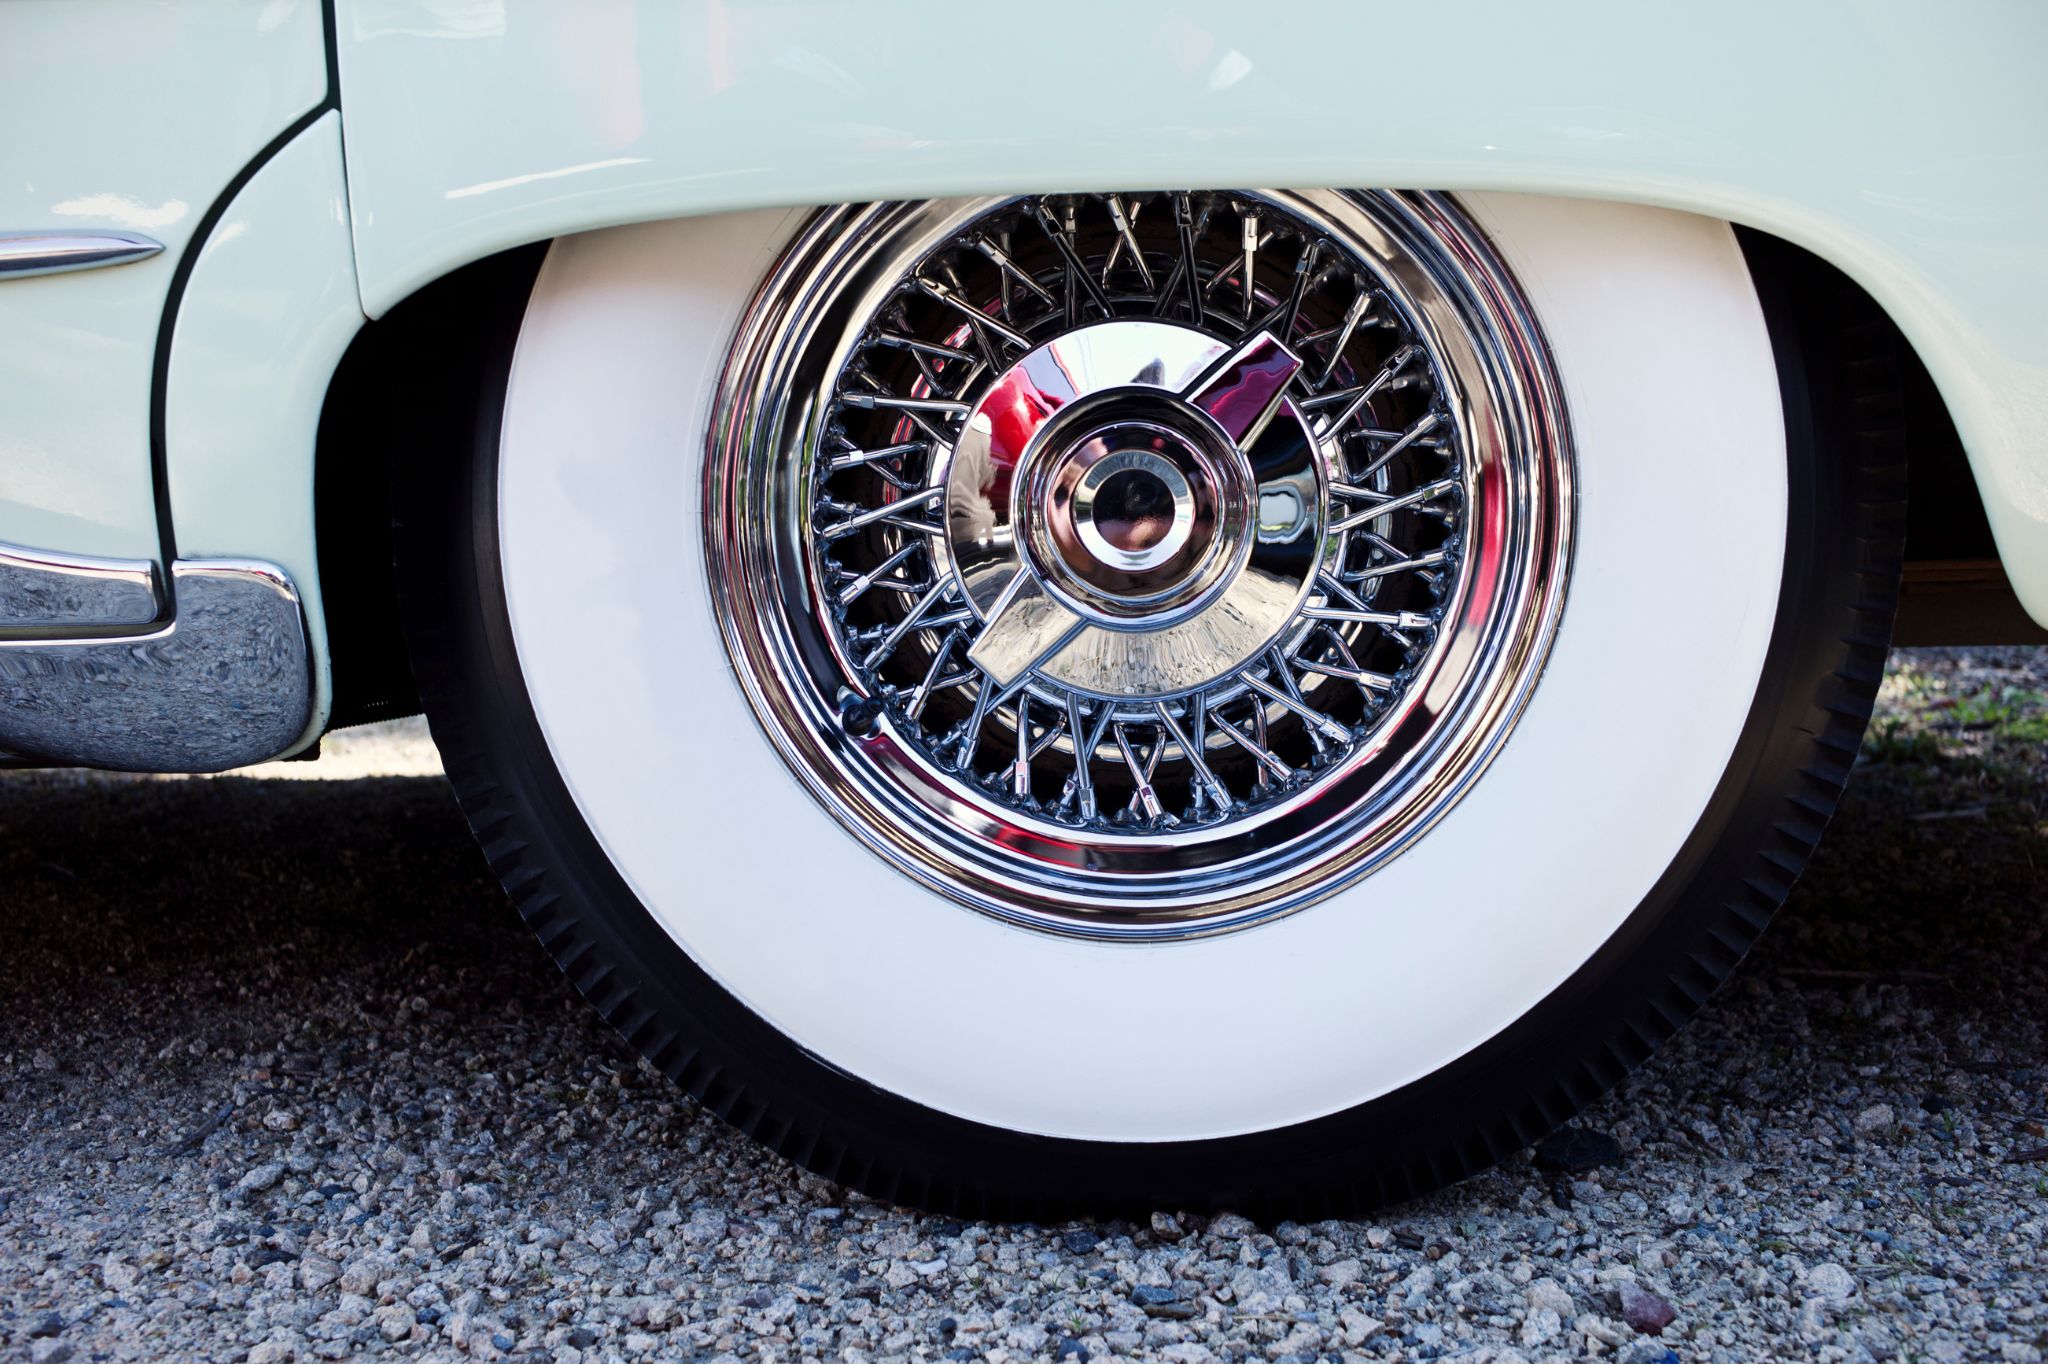
Cracked white wall tires can be an unsightly and potentially dangerous problem for car owners. These cracks can weaken the tire’s structure and reduce its grip on the road, putting you and your passengers at risk.
Many may ask, how to fix cracked white wall tires? But only a few will get it right on how best to fix cracked white wall tires.
Fixing cracked white wall tires is way easier than you might think. In this article, we’ll explore the causes of cracked white walls and provide a step by step guide on how best to repair them.
If you’re one of many who still own a white tire, and the cracking on the sidewall begins to show, here are some tips you can use in ensuring that your white tires last a little while longer.
Just so you know, there are two methods of fixing cracks.
- Fixing it internally with a sealant
- And fixing it externally with a protectant (Tire Shine)
Steps To Fixing Cracked White Wall Tires (Sealing The Cracks Internally With A Sealant)
This technique is more similar to fixing a puncture, and it’s way effective for tiny cracks that are difficult to locate. What’s more, the main thing with this strategy will be to ensure that you use a sealant meant for rot and cracking intended for the specific tire type you have.
Materials Required
Step 1: Let The Vehicle Cool Down In Temperature
Before you dive into fixing your tire, it is imperative to allow the tires to chill off first.
Since tires are in contact with the street, the frictional contact it has with the road makes them heat up and will subsequently be risky to chip away at when hot.
Allowing the tires to cool will reduce the risk of pyrolysis which can cause your tire to explode without any warning signs.
Step 2: Remove The Tires From The Vehicle
When the tires are sufficiently cool, the next phase is to remove them from the vehicle since you won’t have the option to seal them properly when they are as yet on the vehicle.
Likewise, lifting your vehicle and removing the tires is crucial because dry decay will in many ways influence both within and external parts of the tires, and you only have a chance to observe this when the tire is taken out completely from the vehicle. (Read Also: Best Floor Jack For Jeep Grand Cherokee)
Step 3: Deflate Tires
To get the best result, deflate the tires so that you can easily sport where the cracks are located. It will also help you apply the sealant more effectively.
Step 4: Take A Thorough Look At The Tires
This next phase requires you to have a thorough look at the tire, you have to look at the tires to know the degree of the harm and consequently concoct a plan to handle the issue.
By examining the tires, you can decide the areas generally affected and also where you should give more consideration. Additionally, it is at this phase you can tell if your white tire is beyond repair or not.
Step 5: Get Your Sealant Ready For Application
Now that you are aware of where the cracks are located, that’s if you feel the tire is still roadworthy, set up the sealant for application if it’s the sealant that requires mixing of some sort.
As soon as you are done with the preparation, apply it to the interior part of the tire adhering to the directions of the sealant manufacturer. For most sealants, this will include inserting the injector into the valve stem.
Step 6: Pump Back Air Into The Tires When You Are Done
As soon as you finish applying the sealant on the tire, wait for a little while, then proceed to pump back air into the tire. Ensure it’s the right pressure level the tire can withstand so that you don’t compound the problem you just fixed.
Step 7: Fix Back The Tires, Then Carry Out A Test Drive Around Your Neighborhood
The last phase is to reinstall the tires so you can give the vehicle a test run drive around your area. A test drive is significant here as it will guarantee that the sealant is evenly distributed inside the tires to seal all the breaks. (Read Also: Will Nissan Wheels Fit Toyota?)
In any case, a few sealants can still seal the breaks adequately even without driving around, but come on, why would you turn down the opportunity to show off your white tires to the neighborhood, why?
How To Fix Cracked White Wall Tires – Covering The Cracks Externally With A Protectant


Using this method is more suitable for dealing with more visible cracks. You will be needing a tire protectant to get started. This method also helps to breathe life into your white tire rubber, and also protect it from UV rays.
Materials Needed
- Water hose
- A large sponge
- Tire protectant
- Water-based tire degreaser
Step 1: Give Your Vehicle A Breather
Just like the other method explained above, you need to allow your vehicle to cool down to prevent any form of a tire explosion. I know you want to get your tire fixed, but you don’t need to be in a rush about the whole thing.
Step 2: Remove The Tire From The Vehicle
The subsequent phase is to raise the vehicle and remove the cracked tire(s). you can’t work on the tires while it’s still on the wheel just like the previous method explained.
As soon as you remove the tires from the vehicle, take a thorough look at them, and mark out where the visible cracks are located. (Read Also: Can You Paint Bicycle Tires?Find Out)
Step 3: Degrease The Surface Of The Tire
After assessing the damage of the cracks on your white tire, the next phase is to begin working on them.
The main thing that works at this point is to apply your degreaser, and keeping in mind that each degreaser will have its application guidelines, most will expect you to apply a tad bit of it on a wipe or a sponge and then spread it liberally over the tire ensuring you cover the whole surface hence the need for a sponge.
Additionally, as you are degreasing, you have to ensure that you scrub the tire and focus more on the zones with the cracks, those areas should be your top priority.
Step 4: Clean And Rinse The Tires
This next phase requires you to wipe the surface of your tire with a cloth, but this should be after you have allowed the degreaser to stay awhile on the surface of the tire allowing it on the surface will go a long way in getting the job done.
After allowing the degreaser to settle on the surface of your white tire, wash the white tire(s) with the hose, and you should ensure you do a thorough job, then leave them to air dry for some time.
Step 5: Apply The Protectant
When the tires are dry, apply the protectant to the tire surface. Remember, this is the most important phase in the entire process, and as such, you should take it very seriously.
You should spray or apply the tire protectant on the tire’s surface depending on the type you purchased. Here, you have to ensure that you cover the whole surface and not simply the zones with the breaks.
Most protectants will require some time to have a lasting effect, thus you may need to leave the tires for a couple of hours for such to happen.
Step 6: Paint The White Section Of The Tires If Necessary
The process of degreasing and applying the protectant might leave your whitewall tire a little different, so you might want to paint that section afresh to give it a sparkling look altogether. This white tire paint will do a perfect job, and it comes highly recommended by previous users.
Step 7: Put The Tires Back On The Wheel
After the restoration process and the repainting, the last phase will be to give the tires another examination to check whether there are any obvious changes.
Furthermore, if you are happy with the outcome, you should reinstall the tires, and if not, you should repeat the process a couple of times, and if there is no lasting change, you might as well get a new one.
Read Also: How To Identify Tubeless Tire Puncture Plus Quick Fix
You should also note that this method takes a couple of time to complete, especially when you compare it to the first method – so be ready to put in at least three hours to get the maximum result possible.
Here are some FAQs you might have regarding whitewall tires. kindly let me know in the comment section if you have any further questions regarding this subject, and I will gladly be of help.
Trending Searches
- How Much Tire Sidewall Damage Is Too Much?
- Can I Use Fix A Flat For A Slow Leak?
- How To Pop A Tire Back On The Rim With Fire Like A Pro
- How To Fix ATV Tire Leaking Around The Rim With Steps
- How To Remove Tubeless Tape Easily With Steps
Cracked White Wall Tires
This refers to tires that have developed cracked along the white side-wall of the tire. It’s typically a result of exposure to extreme weather conditions such as hot temperatures or UV rays or due to overall aging and lack of maintenance.
If the cracks are severe enough, you may need to replace your tire. Poorly maintained white wall tires may crack – damaging your tire significantly.
It’s possible to repair cracked white wall tires to extend it’s life. It’s important to address cracks in white wall tires promptly to avoid any further damage.
Are Whitewall Tires Still Available?
White walled tires are still available, but not in mass production as had back in the days. Some shops make these tires on amazon, and you can still find some on amazon from selected sellers.
Here are some whitewall tires you can check out.
- Shinco whitewall tires for machine
- Dunlop Harley Davidson for motorcycles
- Shinco whitewall tire for cars
How Do You Clean A Dirty White Wall Tires?


That’s the challenge some persons have with white wall tires the white nature of the side walls will mean that you have to always be on your A-game if you want it sparkling all the time. Here are tips if you want to maintain the lovely appearance of your vintage tire;
Materials Needed
- White cloth or SOS pads
- A scrub brush
- Ordinary baking soda
- Garden hose pipe or simply a bucket of water
- Whitewall specific tire cleaner
Step 1: Use The Right Cleaning Materials
Don’t contemplate using any kind of cloth or rage to clean your whitewall tires. remember the walls of your tire are white and as such you could dampen the bright sparkle of your whitewall tire. Avoid using shop rags as well as they could ruin the whole process even before you begin.
SOS pads also come highly recommended. A bunch of good SOS pads can also help even though they are mostly used for cleaning generally. Besides, they come readily soaked with a cleanser. On top of that, the grating surface on SOS cushions helps in the expulsion of stains.
I know I mentioned the use of brush, but never for a second think it’s the conventional wire brush with metal bristles. Such brushes will likely ruin the surface of your whitewall tire. Plastic bristle brushes will do a perfect job in removing the stains from your tire.
Step 2: Wet The Sections Of The Tire
You can start by wetting the primary segment by preferably using a pressure washer, or a garden hose, which should assist with cleaning the dirt in a very effective manner.
Step 3: Dilute The Cleaning Product Accordingly
This is important if you hope to get the best out of this exercise. Ensure that you dilute the cleaning product as instructed in the directions on the container before applying it to the tire.
Step 4: Clean The White Walls Until You See Results
Dip your cleaning apparatus which could be your white cloth, SOS pads, or plastic bristle brush into your bucket containing the mixture of water and your cleaning product.
Circularly scrub the tires to effectively remove the stains from the tire, and don’t hesitate to repeat the process in areas that seem stubborn.
Repeat the process in all four areas, and you should have a sparkling white wall in no time at all.
What Is The Best Cleaner For Whitewall Tires?
The shocking thing with a portion of car cleaners we have today is that they contain a high level of alcohol or in some cases, bleaching agents.
Components like these are unforgiving on rubber and can cause it to dry if used for long, in addition to they, they also cause the wall tire to break and they cause yellowing as well.
While picking your whitewall cleaning items, you better go with those that are normal, which means they don’t need to work with excessive force.
Baking soda is used to help make your whitewall tire maintain its white appearance in the most natural way possible.
How Do I Keep My White Wall Tire White?
Like I stated earlier, using baking soda is the safest way to maintain the white color of your whitewall tire.
Simply sprinkle the normal baking soda you have in your kitchen on a rag or an SOS pad, but ensure it’s damp. Scrub it around the surface of your white tire until you are satisfied with the result.
Why Do Whitewall Tires Turn Yellow?
Apart from using harsh cleaning substances, whitewall tires can also be affected by UV light, heat, or oil leaking from the black segment of the tire. That’s why looking out for that section of the tire is of extreme importance because that’s where the true beauty of the tire lies.
How Do You Protect White Wall Tires?
Depends on the type of protection you have in mind. Items are generally protected if we hold them in a place of value by cleaning them, ensuring we don’t rough handle them, and taking great care in terms of maintenance.
Your whitewall tire should last you for a very long time, depending on how properly you care and maintain its appearance, because if you truly want to enjoy the vintage status that comes with whitewall tires, then it must be white.
How To Fix Cracked White Wall Tires – Conclusion
If you own a vintage car or bike, then the chances of your tire being white-walled are almost 100%.
The true beauty of these cars lies in how white the tire wall is, and keep in mind that just like in old times, if your tires aren’t as white as they should be, then you probably aren’t doing something right. I hope this article will help fix that. Cheers!!!
This post contains affiliate links. Read the full disclosure here.


I am passionate about all things automotive and have a deep understanding of the topic. As a mechanic, I use my free time to share knowledge of everyday challenges that any car owner can experience – helping you make informed decisions about tires.

